First metal casting experience
making the plaster cast
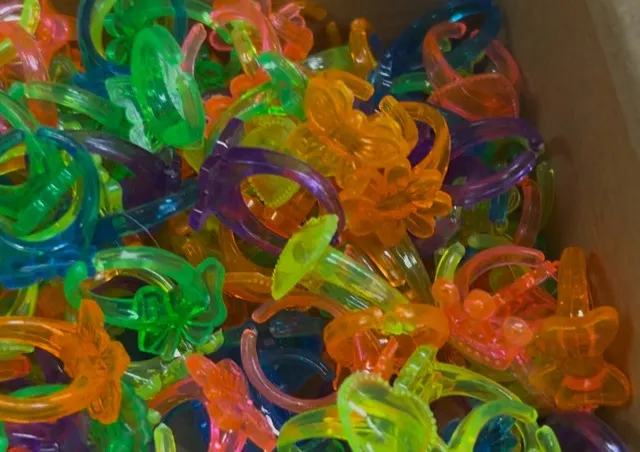
First, I chose a plastic ring to cast. These cheap rings are perfect for this because they melt out of the mold in the kiln pretty well. I went with a bow shape and my partner went with a flower.
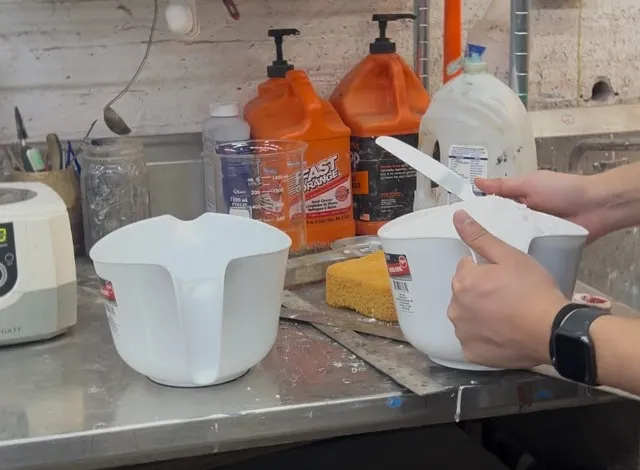
We picked our vessels - these silicone cup mold things with a flexible cap on the end that creates the divet for the molten metal to be poured in later. We then used hot glue to glue the rings from their bottom to the bottom of the cap so that when we pour the plaster into the tube/cup, it’ll create a channel for the molten metal to flow through while simultaneously creating a cut point. I wish I got a good picture of this, but my vague explanation will have to do for now.
After firing our plaster molds in the kiln for a few hours, we came back a day later to pour the metal! We learned how to clean dirty metal by melting it in a crucible over a bed of coals with a large torch, pouring it into a bar mold, and then waiting for it to cool. Afterwards, you would dremel off the gross dirt that coats the outside of the bar via the metal’s tight surface tension forcing it out of the core.
We ended up using pewter that was already good to go, so we didn’t have to clean anything this time. Now we know the process for next time though in case we went to use some recycled brass/copper/etc which is super cool.
My partner melted their pewter via the crucible and torch since the induction stove was acting up, but I was able to find a different working unit to melt mine in. Basically, the difference is ease, time taken to melt the metal, and not working over an open flame. However, pewter is a relatively soft metal with a low melting point, so using the torch wasn’t so bad.
I then donned all the safety gear, grabbed some tongs, and poured my molten pewter into the ring mold! After letting it cool for a few minutes, you quench it in a hot water bath. Then, as the water stops boiling, you move it over to a ‘cold’ bath. This is where you dunk your hands in and start to manually dissolve the plaster to reveal the metal underneath.
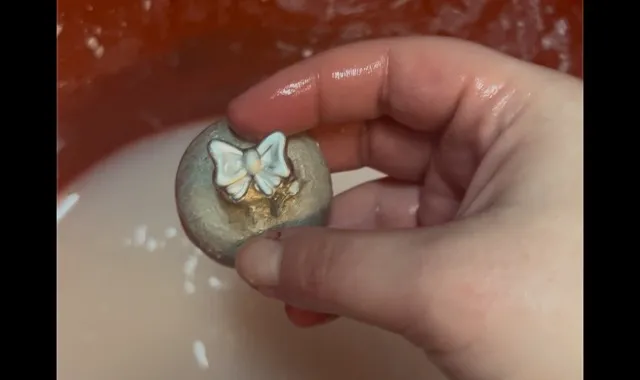
Behold! Two cleaned metal casted rings, ready to be separated from their metal base, cleaned, and sized.
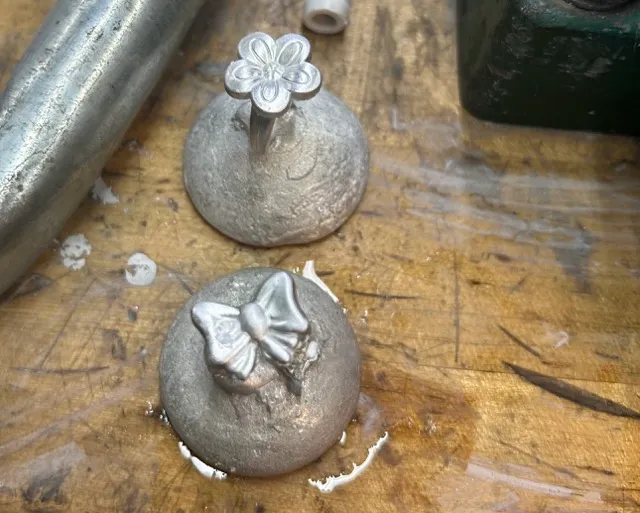
With mine, I ended up adding too much hot glue to the base of the ring, so it was SUPER annoying and difficult to cut out in an even ring pattern. I also didn’t know what I was doing in regards to cutting metal with the dremel lol, so I ended up accidentally cutting too much off. I ended up with a…uh…demi-ring? But it STILL WORKS! Plus, I know what to adjust for next time.
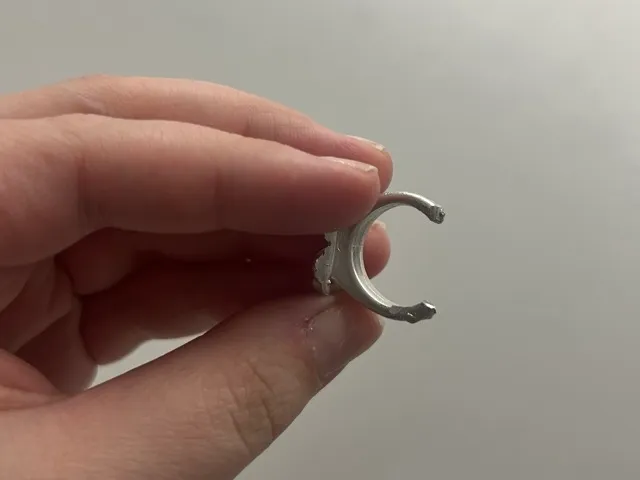
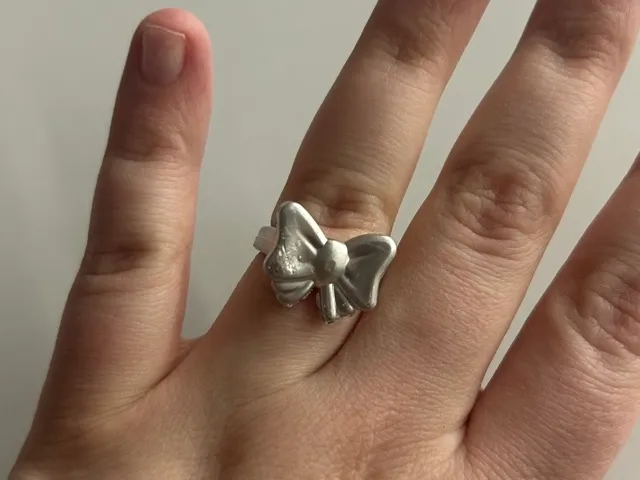
My partner did an excellent job with theirs, and was even able to size it using a ring sizer + hammer which is really neat!
Next time, we’re planning on designing our own ring using a 3D model and printing it out via the makerspace’s wax resin 3D printer which is honestly the coolest thing ever. I’m really glad we said yes to this. Honestly, casting small metals was something I’ve never really been interested in until now and it was a blast. I’m glad we gave it a shot and I’ll definitely do another one of these in the future.